
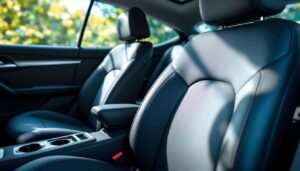

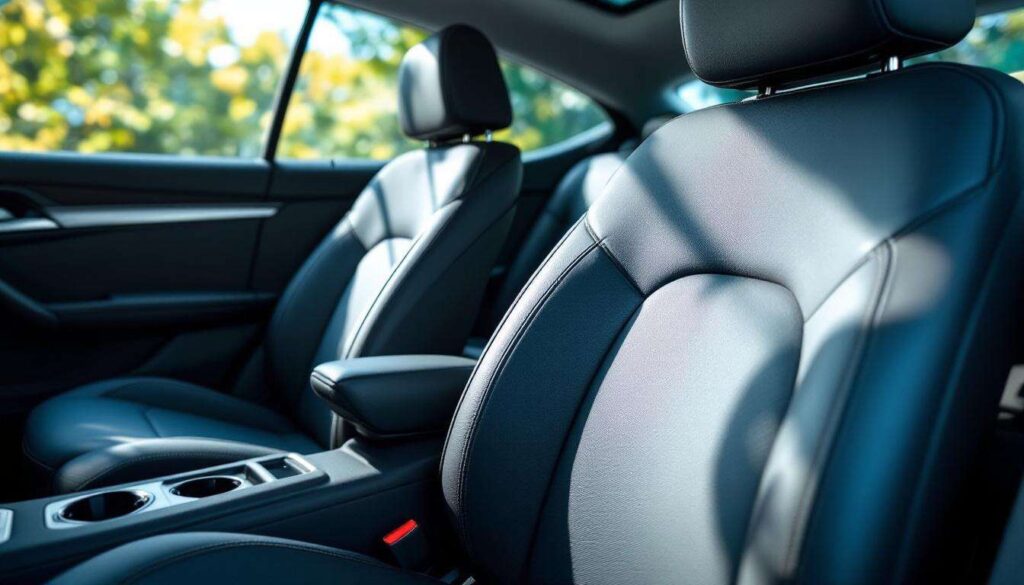
Car interiors endure constant wear, from muddy footprints to spilled beverages and mysterious marks that seem to appear overnight. Whilst many drivers instinctively reach for household staples like vinegar or baking soda when confronting these blemishes, these common solutions often prove inadequate for deeply embedded stains on upholstery. Professional detailers have long relied on a different approach, one that combines readily available products with proper technique to restore car seats to their original condition without risking fabric damage or leaving residues that attract future dirt.
Why avoid vinegar and baking soda for cleaning car seats
The limitations of traditional household cleaners
Vinegar and baking soda have earned their reputation as versatile cleaning agents for various household tasks, yet their effectiveness diminishes significantly when applied to automotive upholstery. The acidic nature of vinegar can weaken fabric fibres over time, particularly on delicate materials such as microfibre or synthetic blends commonly found in modern vehicles. Baking soda, whilst excellent for absorbing odours, lacks the surfactant properties necessary to break down oils and proteins that constitute the majority of stubborn car seat stains.
Potential damage to upholstery materials
Different seat fabrics react unpredictably to acidic or alkaline substances. Consider these risks:
- Discolouration on leather or faux leather surfaces exposed to vinegar’s acidity
- Water marks and residue circles from improperly dissolved baking soda
- Weakened stitching where acidic solutions seep into seams
- Altered texture on velour or suede-like materials
Professional automotive upholstery requires pH-balanced solutions specifically formulated to lift stains without compromising the material’s integrity or protective coatings applied during manufacturing.
Why commercial alternatives prove insufficient
Many off-the-shelf car interior cleaners contain harsh chemicals that leave sticky residues, attracting dirt more rapidly than before treatment. The foaming agents in these products often penetrate too deeply into cushioning, creating moisture problems that lead to mould growth or unpleasant odours. Understanding these limitations reveals why a targeted homemade approach delivers superior results.
The homemade trick for deep cleaning
The essential ingredient combination
The most effective solution combines washing-up liquid with warm water and rubbing alcohol in precise proportions. This mixture creates a powerful yet gentle cleaning agent that addresses the full spectrum of automotive stains. Mix two tablespoons of clear washing-up liquid with 250ml of warm water, then add 60ml of isopropyl alcohol (rubbing alcohol) to create a solution that cuts through grease whilst evaporating quickly to prevent moisture damage.
How the formula works on embedded stains
The scientific principle behind this combination lies in its dual-action approach. Washing-up liquid contains surfactants that surround oil molecules, allowing them to be lifted from fabric fibres. The alcohol component serves multiple purposes:
- Dissolves ink, dye, and adhesive residues that water-based cleaners cannot touch
- Accelerates drying time to prevent mildew formation
- Disinfects surfaces without leaving chemical odours
- Breaks down protein-based stains such as blood or food spills
This formulation penetrates deeply into upholstery weave without saturating the underlying foam, ensuring that stains are addressed at their source rather than merely pushed deeper into the material.
Application tools that enhance effectiveness
The proper tools transform this simple solution into a professional-grade treatment. A soft-bristled brush allows the mixture to work into fabric texture without abrading fibres, whilst microfibre cloths absorb lifted dirt without redistributing it across clean areas. For particularly stubborn marks, a spray bottle enables precise application that conserves solution and prevents over-wetting.
| Tool | Purpose | Recommended type |
|---|---|---|
| Brush | Agitation | Soft nylon bristles |
| Cloth | Absorption | Microfibre (white or light colour) |
| Spray bottle | Application | Fine mist setting |
| Vacuum | Preparation and finishing | Upholstery attachment |
With the solution prepared and tools assembled, attention turns to complementary products that tackle specific stain categories requiring specialised treatment.
The products to favour for removing stubborn stains
Hydrogen peroxide for organic stains
Hydrogen peroxide (3% solution) excels at eliminating biological stains such as blood, vomit, or pet accidents. Its oxidising properties break down organic compounds at the molecular level, making it particularly effective on light-coloured upholstery. Apply directly to the stain, allow it to bubble for thirty seconds, then blot with a clean cloth. This method proves far superior to vinegar for such applications, as it sanitises whilst cleaning without leaving acidic residues.
Glycerine for grease and oil marks
Vegetable glycerine, available at pharmacies, dissolves petroleum-based stains that resist water-based treatments. Apply a small amount directly to grease marks, work it gently into the fabric, then treat with the washing-up liquid solution. This two-stage approach addresses both the oily component and any accompanying dirt particles.
Enzyme cleaners for protein-based stains
Biological enzyme cleaners, typically marketed for pet stains, contain proteins that digest organic matter. These products work exceptionally well on:
- Food spills containing dairy or meat products
- Sweat stains on headrests and driver’s seats
- Vomit or other bodily fluids
- Grass and mud containing plant matter
Apply according to manufacturer instructions, allowing sufficient dwell time for enzymes to break down stain components before blotting away. The key advantage lies in their ability to eliminate odours at the source rather than masking them with fragrances.
When to use commercial spot removers
Certain synthetic stains, particularly permanent marker or industrial chemicals, require purpose-formulated removers. Select products specifically labelled for automotive upholstery and always test on an inconspicuous area first. These should constitute a last resort after gentler methods have been exhausted, as their potency can affect fabric dyes or protective treatments.
Understanding which products address specific stain types enables a systematic approach to the cleaning process itself.
Step-by-step guide for optimal results
Preparation and initial assessment
Begin by thoroughly vacuuming seats to remove loose debris that would otherwise turn into muddy paste when moistened. Examine each stain under good lighting to identify its nature, as this determines the appropriate treatment method. Fresh stains respond more readily than set-in marks, but even long-neglected upholstery can be restored with patient application.
The cleaning sequence
Follow this systematic approach for comprehensive results:
- Test the cleaning solution on a hidden area beneath the seat to verify colour-fastness
- Spray or apply solution sparingly to stained areas, working from the outside edges inward to prevent spreading
- Allow the solution to dwell for three to five minutes, giving surfactants time to penetrate
- Agitate gently with a soft brush using circular motions
- Blot with a clean microfibre cloth, pressing firmly to absorb lifted dirt
- Repeat if necessary, using fresh solution and clean cloths for each application
- For stubborn marks, apply the appropriate specialised product after initial treatment
Drying and finishing techniques
Proper drying prevents the musty odours and mould growth that plague improperly cleaned car interiors. Open all doors and windows to promote air circulation, or use a fan directed at cleaned surfaces. In humid conditions, a dehumidifier placed inside the vehicle accelerates moisture removal. Avoid using the car until seats are completely dry, typically requiring four to six hours depending on ambient conditions and fabric thickness.
Quality assessment and touch-ups
Once dry, vacuum again to lift any remaining residue and restore fabric texture. Inspect under natural light for any remaining discolouration, treating persistent spots with targeted applications rather than re-cleaning entire sections. This methodical approach ensures thorough results without over-wetting upholstery or wasting cleaning solution.
Having achieved pristine seats, attention naturally shifts to maintaining this condition through preventative measures.
Maintenance tips to prevent future stains
Regular vacuuming schedules
Weekly vacuuming removes abrasive particles that grind dirt deeper into fabric fibres with each journey. Focus on crevices where crumbs and debris accumulate, using a crevice tool to reach between seat bases and backrests. This simple habit prevents the gradual soiling that makes upholstery appear dingy even without obvious stains.
Protective treatments and barriers
Fabric protector sprays create an invisible barrier that causes liquids to bead rather than absorb immediately. Apply these products after deep cleaning, following manufacturer instructions for coverage and drying time. For high-traffic vehicles, consider:
- Seat covers for driver and passenger positions
- Towels or blankets when transporting pets
- Waterproof mats beneath child safety seats
- Boot liners to prevent cargo spills from reaching seats
Immediate response to spills
Address accidents within minutes rather than hours to prevent permanent staining. Keep a small kit in the boot containing microfibre cloths, a spray bottle of the homemade solution, and paper towels. Blot fresh spills immediately, working from the outside inward, then treat with cleaning solution as soon as practical. This proactive approach eliminates most stains before they set, reducing the need for intensive cleaning sessions.
Seasonal deep cleaning routines
Schedule thorough cleanings quarterly, addressing the entire interior rather than spot-treating individual marks. This prevents the accumulation of body oils, dust, and environmental contaminants that gradually dull fabric appearance. Spring and autumn prove ideal times for such maintenance, as moderate temperatures facilitate faster drying.
| Season | Focus areas | Recommended frequency |
|---|---|---|
| Spring | Salt and winter grime removal | Thorough deep clean |
| Summer | Sweat and sunscreen stains | Monthly spot treatment |
| Autumn | Leaf debris and moisture | Thorough deep clean |
| Winter | Road salt and mud prevention | Fortnightly vacuuming |
Car seat maintenance need not rely on harsh chemicals or ineffective home remedies when proper techniques and appropriate products are employed. The washing-up liquid and rubbing alcohol solution provides a foundation for addressing most stains, whilst targeted treatments handle specific challenges that resist general cleaners. Regular maintenance prevents the accumulation of grime that transforms minor marks into permanent discolouration, preserving both the appearance and value of vehicle interiors. By understanding fabric types, stain chemistry, and proper application methods, drivers can achieve professional-quality results without the expense of detailing services, ensuring their car interiors remain as presentable as the day they left the showroom.